
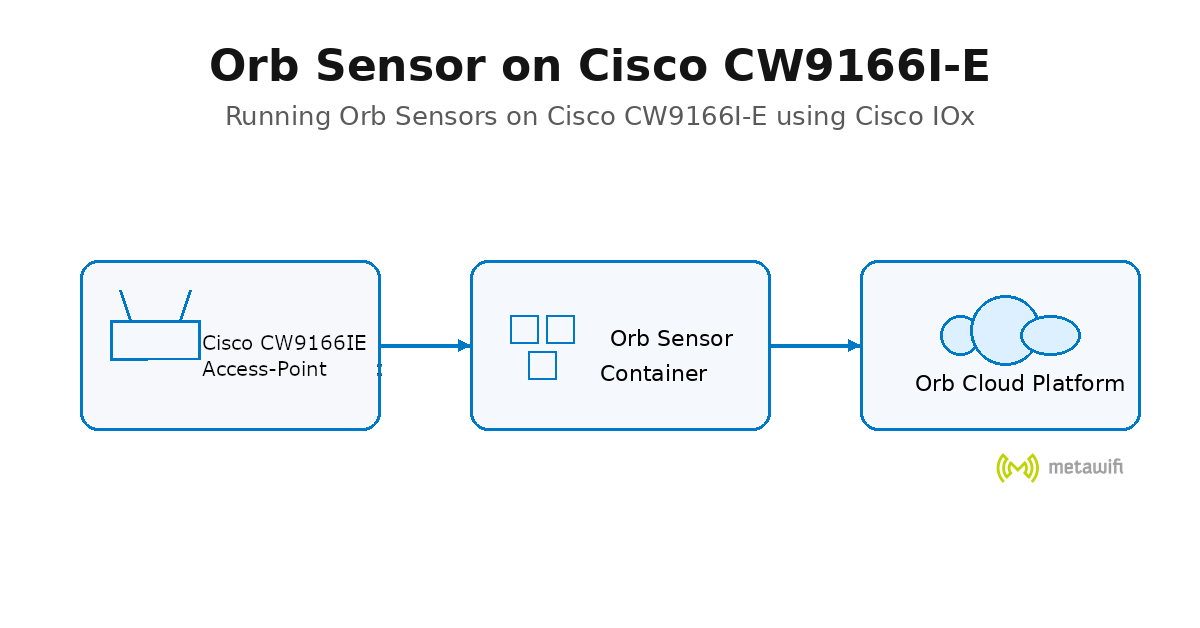
This blog explains step by step how to run an Orb Sensor on a Cisco Catalyst 9166 access point using Cisco IOx Application Hosting.
The process described here reflects a real implementation where we:
- prepared files on a Mac
- built the IOx package on a Linux VM
During testing we discovered that building the IOx package reliably requires Linux, which influenced the final design choice.
The goal of this guide is to help engineers reproduce the setup and understand why each step is required.
Architecture
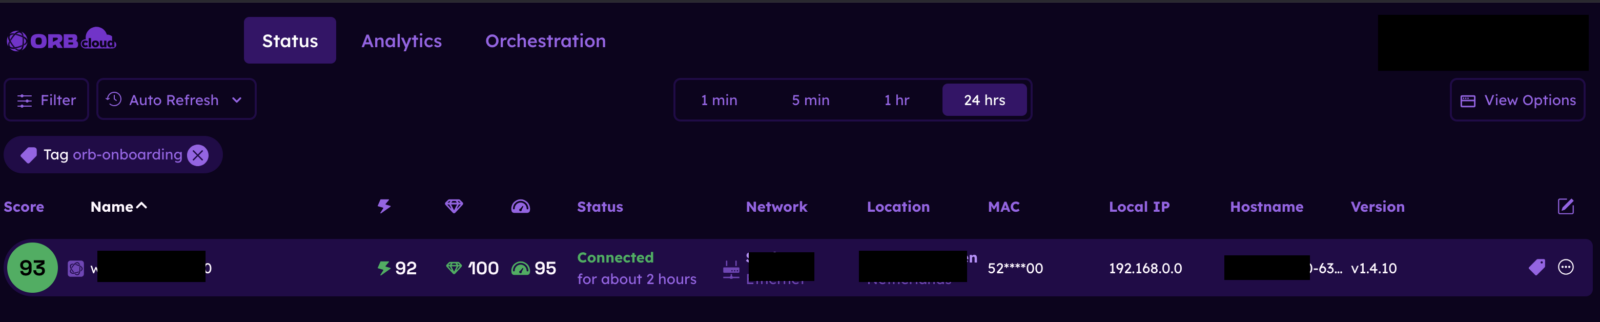
The deployment architecture consists of three components:
- Linux build environment (Linux VM)
- Cisco Catalyst 9166 access point
- Orb cloud platform
Workflow:
Linux VM (Docker + ioxclient)
        │
        │ build IOx package
        ▼
     package.tar
        │
        │ deploy via IOx API
        ▼
 Cisco Catalyst 9166 AP
     (IOx runtime)
        │
        │ Orb container
        ▼
       Orb Cloud
The Linux VM is only required for building and deploying the package. Once deployed, the AP communicates directly with Orb Cloud.
Why Linux Was Required
Initially we attempted to build the IOx package on macOS with Docker Desktop.
However the following command failed on macOS:
ioxclient docker package -p ext2 -r 5 orb-busybox:latest .
The reason is that ioxclient performs several Linux‑specific filesystem operations:
- creation of an ext2 root filesystem
- loop device mounting
- filesystem formatting
These rely on Linux utilities such as:
mke2fs
mkfs.ext2
mount
losetup
Because of this the most reliable workflow is:
Mac → preparation
Linux VM → package build
Cisco AP → runtime
Prerequisites
To complete this setup you need:
- Cisco Catalyst 9166 access point running atleast AP Running Image :
IOS XE 17.3.1 or later (for APs) I was using 17.12.5.41 for the best performance - IOx enabled on the AP
- SSH access to the AP
- Linux VM
- Docker installed on Linux
- ioxclient ( see download link below)
Download ioxclient here:
x86-64 Linux I use because I run ubuntu 22.x
https://developer.cisco.com/docs/iox/iox-resource-downloads/#downloads
- Last be not least the Orb deployment token
Step 1 ) Verify IOx on the AP
Login to the AP and verify IOx is running:
show iox status
Example output:
IOX Status : Enabled
CAF Status : Up
CAF Port   : 8443
Check existing applications:
show iox applications , there is a limit of 2 on Cisco 9166 AP'sInitial output:
Total Number of Apps : 0
Step 2 ) Create a Working Directory
mkdir ~/orb
cd ~/orb
In the end the directory needs to contain:
package.yaml
activate.json
orb-image.tar
ioxclient
package.tar
Step 3 ) Pull the latest Orb Docker Image
The Orb container image is required before building the IOx package.
Cisco 9166 uses ARM64, so the ARM image is required:
docker pull --platform linux/arm64 orbforge/orb-busybox:latest
Export the image:
docker save orbforge/orb-busybox:latest -o orb-image.tar
Step 4 ) Create package.yaml
descriptor-schema-version: "2.10"
info:
  name: orb
  description: "Orb Sensor"
  version: "1.0"
  author-name: "Orb"
app:
  cpuarch: aarch64
  type: docker
  env:
    PATH: /usr/local/sbin:/usr/local/bin:/usr/sbin:/usr/bin:/sbin:/bin
    ORB_CONFIG_DIR: /data
    ORB_DATA_DIR: /data
    ORB_EPHEMERAL_MODE: 1
    ORB_DEPLOYMENT_TOKEN: YOUR_DEPLOYMENT_TOKEN
  resources:
    profile: custom
    cpu: 400
    memory: 80
    disk: 10
    network:
      - interface-name: eth0
        ports:
          tcp:
            - "7443"
            - "8081"
  startup:
    rootfs: rootfs.ext2
    target: "/app/orb sensor"
    workdir: /app
Important configuration choices:
- cpuarch aarch64 because Cisco 9166 is ARM64
- rootfs.ext2 required for IOx packaging
- ORB_DEPLOYMENT_TOKEN connects the sensor to Orb
Step 5 ) Create activate.json
{
  "resources": {
    "network": [
      {
        "interface-name": "eth0",
        "network-name": "iox-nat0",
        "port_map": {
          "mode": "1to1"
        }
      }
    ]
  }
}
Step 5a ) Initialize ioxclient
Before building the IOx package, run ioxclient once so the tool can create its local configuration file.
./ioxclient –version < we install ioxclient version 1.18.0.0 for this PoC
The interactive wizard will appear asking questions to create the config file
Your / your organization’s name:
Your / your organization’s URL:
Your IOx platform’s IP address: <-These are the login credentials for the IOx device.
Username:
Password:
Local repository path on IOx platform:
These values are stored in:
~/.ioxclientcfg.yaml
This wizard only configures the IOx client tool itself and is not directly related to the Orb container deployment.
Important: this wizard only needs to be completed once per machine.
This tells the Container Application Framework (CAF) how the container should connect to the network, it actually
Step 6 ) Prepare Linux Build Environment
Install dependencies:
apt update
apt install -y docker.io e2fsprogs
make sure the following files are now in the ~/orb dir:
package.yaml
activate.json
orb-image.tar
ioxclient
Step 7 ) Load Docker Image
docker load -i orb-image.tar
Verify:
docker images
Example:
orbforge/orb-busybox latest
Tag the image:
docker tag orbforge/orb-busybox:latest orb-busybox:latestWe tag the image because ioxclient docker package expects the image name to match the name referenced
in the packaging process, and using a simpler local tag avoids issues with registry paths.
Step 8 ) Build the IOx Package
Run on Linux:
./ioxclient docker package -p ext2 -r 5 orb-busybox:latest .
This generates the last file needed:
package.tar
Step 9a ) Create IOx Profile
./ioxclient profiles create
Provide:
- AP IP
- port 8443
- AP username
- AP password
Activate profile:
./ioxclient profiles use <ap-name>
Verify:
./ioxclient profiles listStep 9b (optional): If upgrading
If you have a previous Orb installation on the AP, remove it first:
ioxclient application stop orb
ioxclient application deactivate orb
ioxclient application uninstall orb
Install the Application
ioxclient application install orb package.tarStep 10 ) Install the Application
./ioxclient application install orb package.tar
Example output:
Installation SuccessfulStep 11a ) Activate & Start
./ioxclient application activate orb activate.jsonStep 11b ) Start
./ioxclient application start orbStep 12 ) Verify on the AP
At this point you can verify on the Linux machine if everything is Actovated (step 10 ) Activated (step 11)
and running (step 11b). Every step can be validated on the AP by entering show ios application to see there App State.
show iox applications

Once deployed the architecture becomes:
Cisco 9166 AP
      │
      │ Orb container
      ▼
   Orb Cloud
The Linux VM is no longer required after deployment.
IOx Architecture
To understand how Orb actually runs on the Cisco access point, it helps to look at the internal runtime stack.
Cisco Catalyst access points running IOS‑XE include an embedded Linux environment where IOx containers run.
Architecture inside the AP:
flowchart TD
IOSXE[IOS‑XE Operating System]
CAF[CAF – Container Application Framework]
RUNTIME[Container Runtime]
ORB[Orb Sensor Container]
CLOUD[Orb Cloud]
IOSXE --> CAF
CAF --> RUNTIME
RUNTIME --> ORB
ORB --> CLOUD
Component explanation:
IOS‑XE Operating System
The main Cisco operating system running on the access point.
CAF (Container Application Framework)
Cisco’s application hosting framework that manages container lifecycle operations.
Container Runtime
Runs the actual containerized application.
Orb Sensor Container
The Orb sensor application running locally on the AP.
Orb Cloud
Receives telemetry and sensor data from the AP.
This layered architecture allows Cisco access points to run lightweight applications locally while still being managed by the IOS‑XE control plane.
Troubleshooting
Exec format error
./ioxclient: cannot execute binary file: Exec format error
Cause: wrong CPU architecture of the binary.
Check system architecture:
uname -m
Download correct ioxclient version.
Failed to format rootfs image file
Failed to format rootfs image file
Unable to generate Flat rootfs file from docker image
Cause: missing Linux filesystem tools.
Solution:
apt install docker.io e2fsprogs
Packaging fails on macOS
For this command, IOxclient needs to be run in a Linux environment
Solution: build the package on Linux.
Conclusion
Running Orb sensors on Cisco Catalyst 9166 APs using IOx works reliably when the correct workflow is followed.
The key design decision was building the IOx package on Linux instead of macOS. Once deployed, the access point runs the Orb container locally and communicates directly with Orb Cloud. This architecture allows scalable deployment across multiple access points with minimal operational overhead.
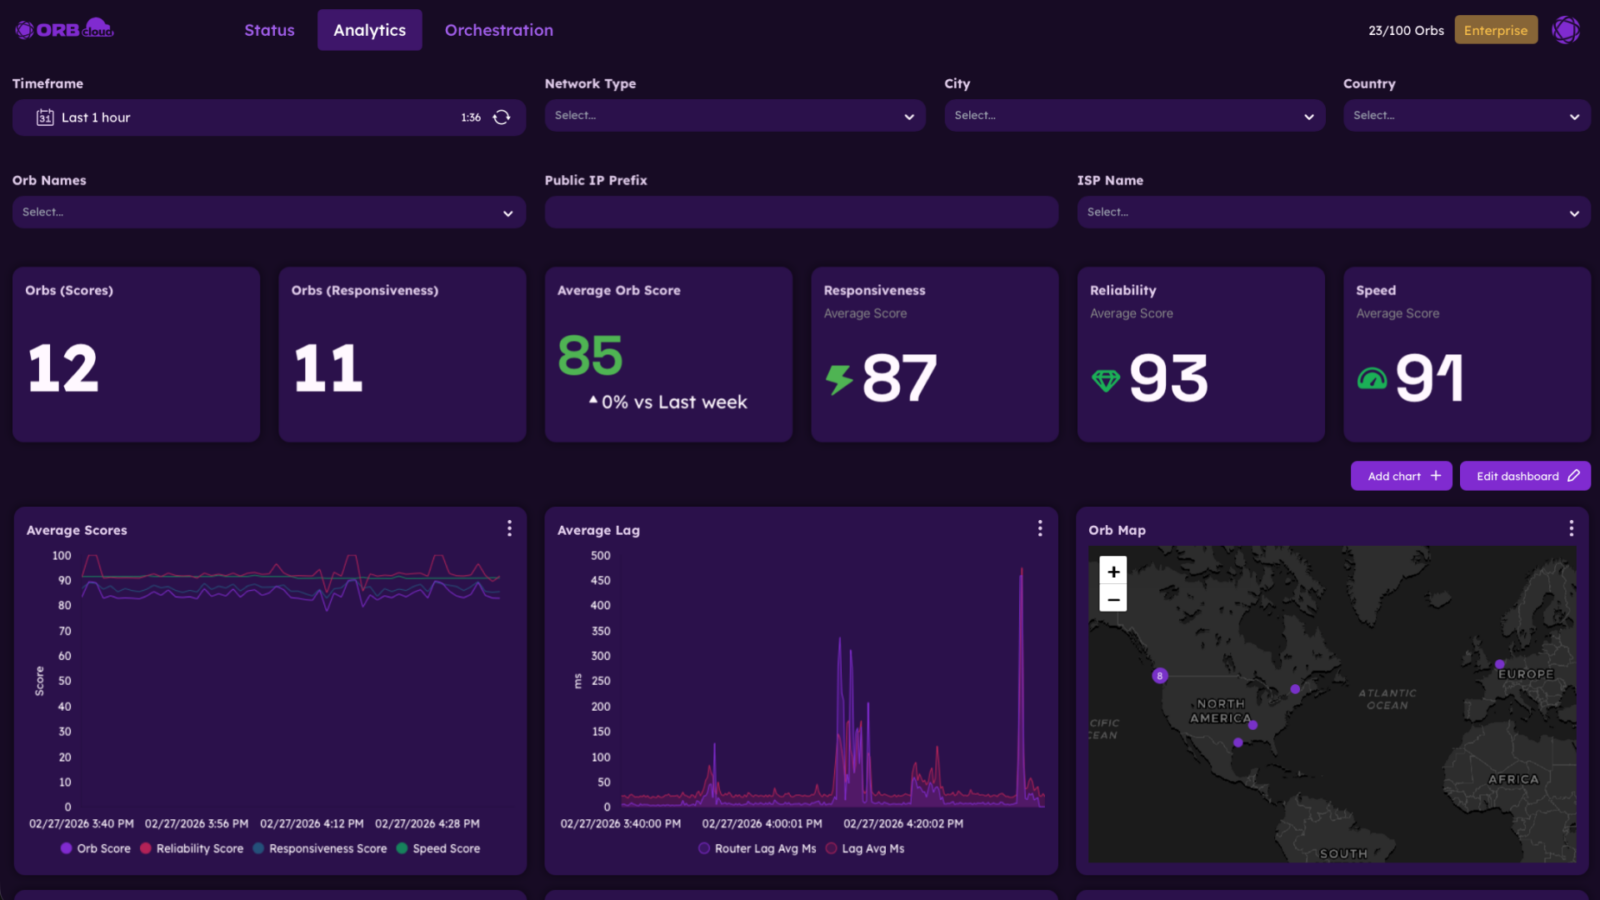
My thoughts on ORB on Access-Points
Now before I did this, I was thinking, why we want this in the first place, but let me explain here because you maybe start with the same thought.
The main reason is placement: an AP sits at the Wi-Fi edge, where client experience is actually starts.
The from the AP to Switch from the switch to the border, from the border to the backbone and from the backbone through a firewall to the internet.
First: Installing Orb on an AP as a Docker container gives you an always-on probe from the same part of the network your wireless devices use, instead of from a laptop that sleeps or a server tucked away on Ethernet. Orb’s own docs position sensors as dedicated, continuous monitors that can run on Docker-capable devices, so dedicated 24/7 placement for continuous monitoring.
So in practice:
- Continuous monitoring from the wireless access layer. You can watch responsiveness, reliability, and speed over time from a spot that matters to Wi-Fi users, not just from a core wired box. Orb describes its sensor as a continuous network connectivity monitor, and the product is marketed as “set and forget” 24/7 monitoring.
- Better fault isolation. If the Orb running near or on the AP shows problems at the same time users complain, that suggests an issue affecting that AP’s path or local RF environment; if a wired Orb elsewhere looks clean, the problem is probably more local than ISP-wide. This is an inference from Orb’s multi-sensor model and continuous per-device monitoring.
The most useful scenarios are:
- Specific buildings where you want one permanent probe per site.
- Intermittent complaints like “Wi-Fi is bad every evening,” where a 24/7 sensor catches brief degradation that ad hoc speed tests miss.
Orb’s platform is specifically built around continuous measurement rather than only one-off testing.
*Confirmed 10-02-2025, 9176I and 9176D1 is working too.
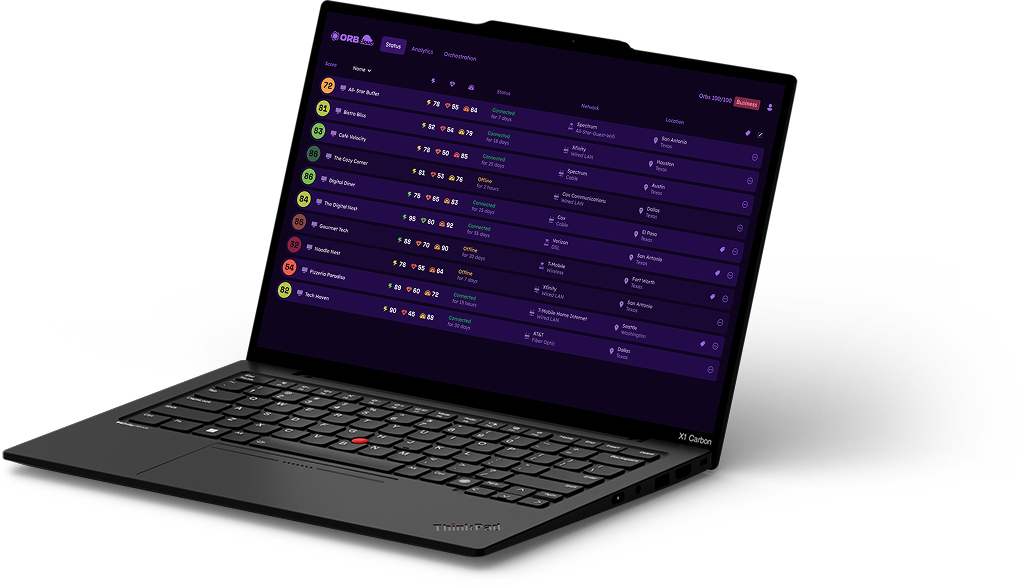
Don’t want to store data in the ORB cloud?|
You can stop Orb from sending data to the cloud while still allowing the sensor to operate and manage subscriptions.
Option1:
- Access your Orb configuration settings (via Remote Configuration).
- Update the configuration to include an empty array for the
datasets.cloud_pushkey: json{ "datasets.cloud_push": [] } - This ensures no datasets are sent to the Orb Cloud.
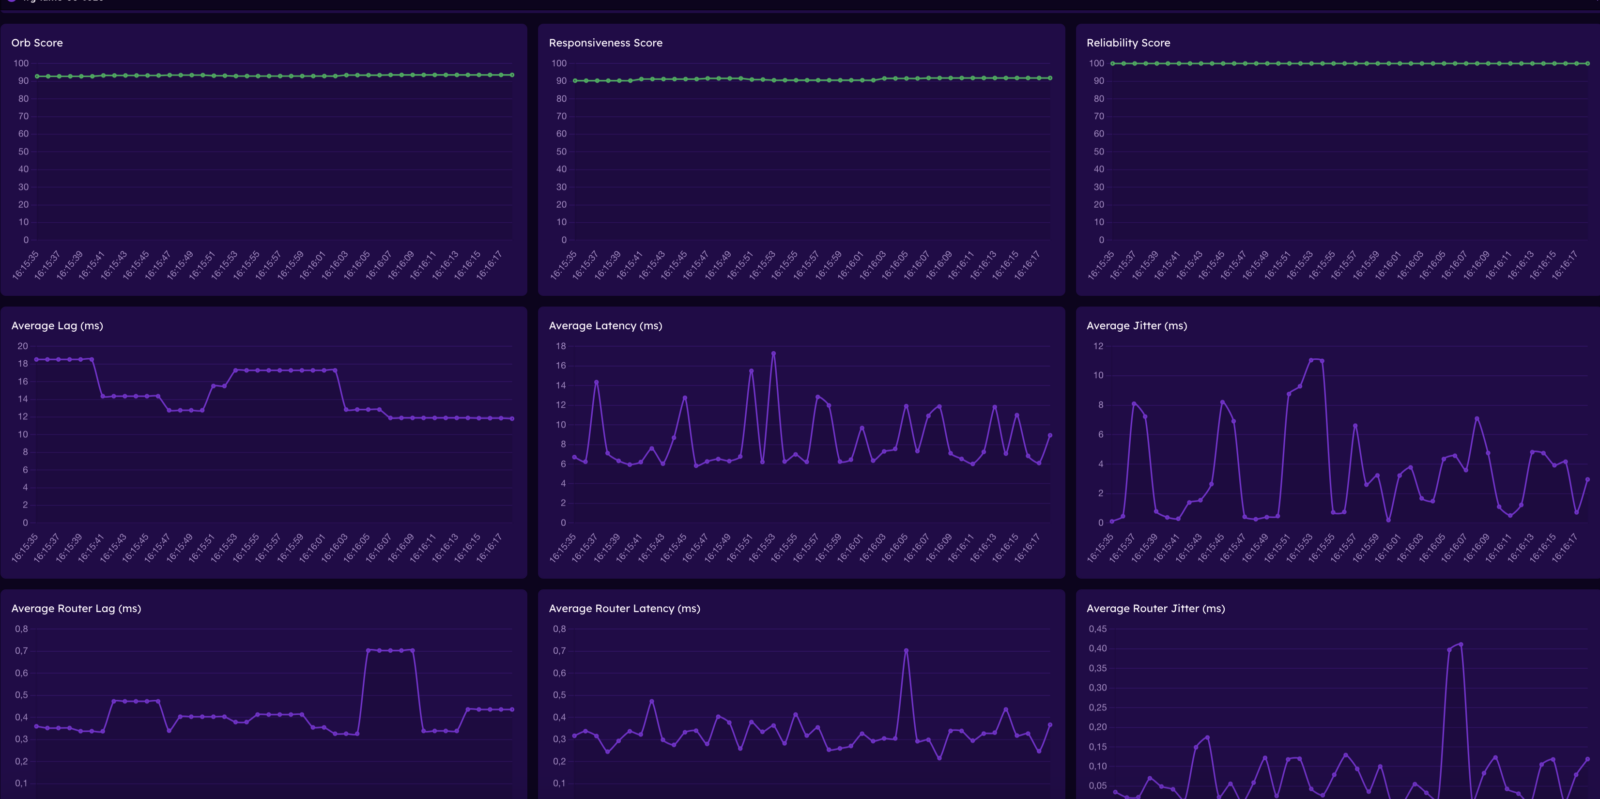
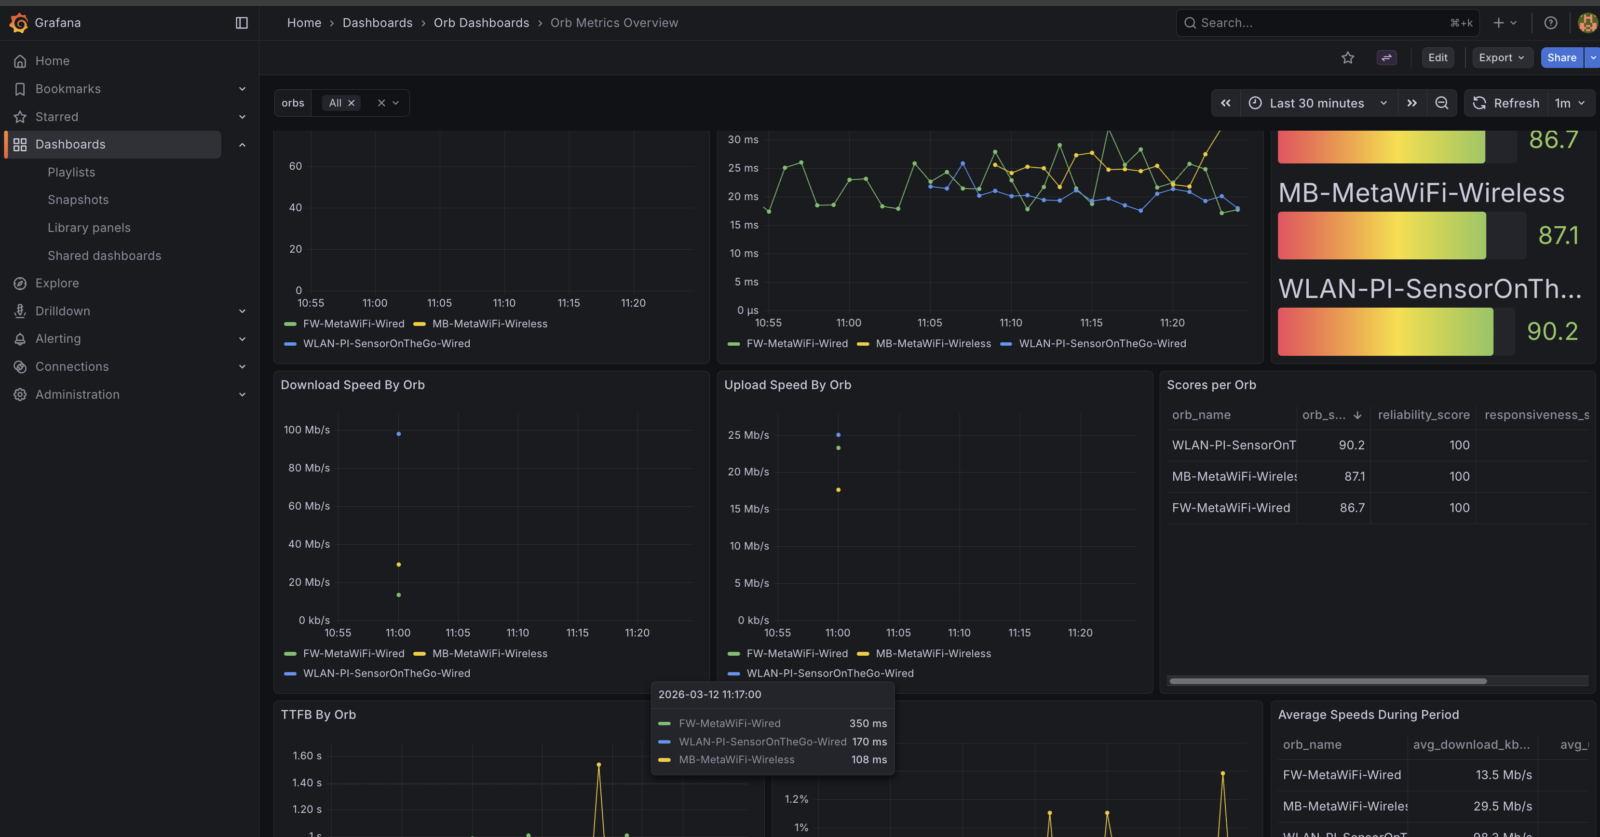
https://orb.net/docs/deploy-and-configure/local-analytics:
Here is my local analytics dashboard
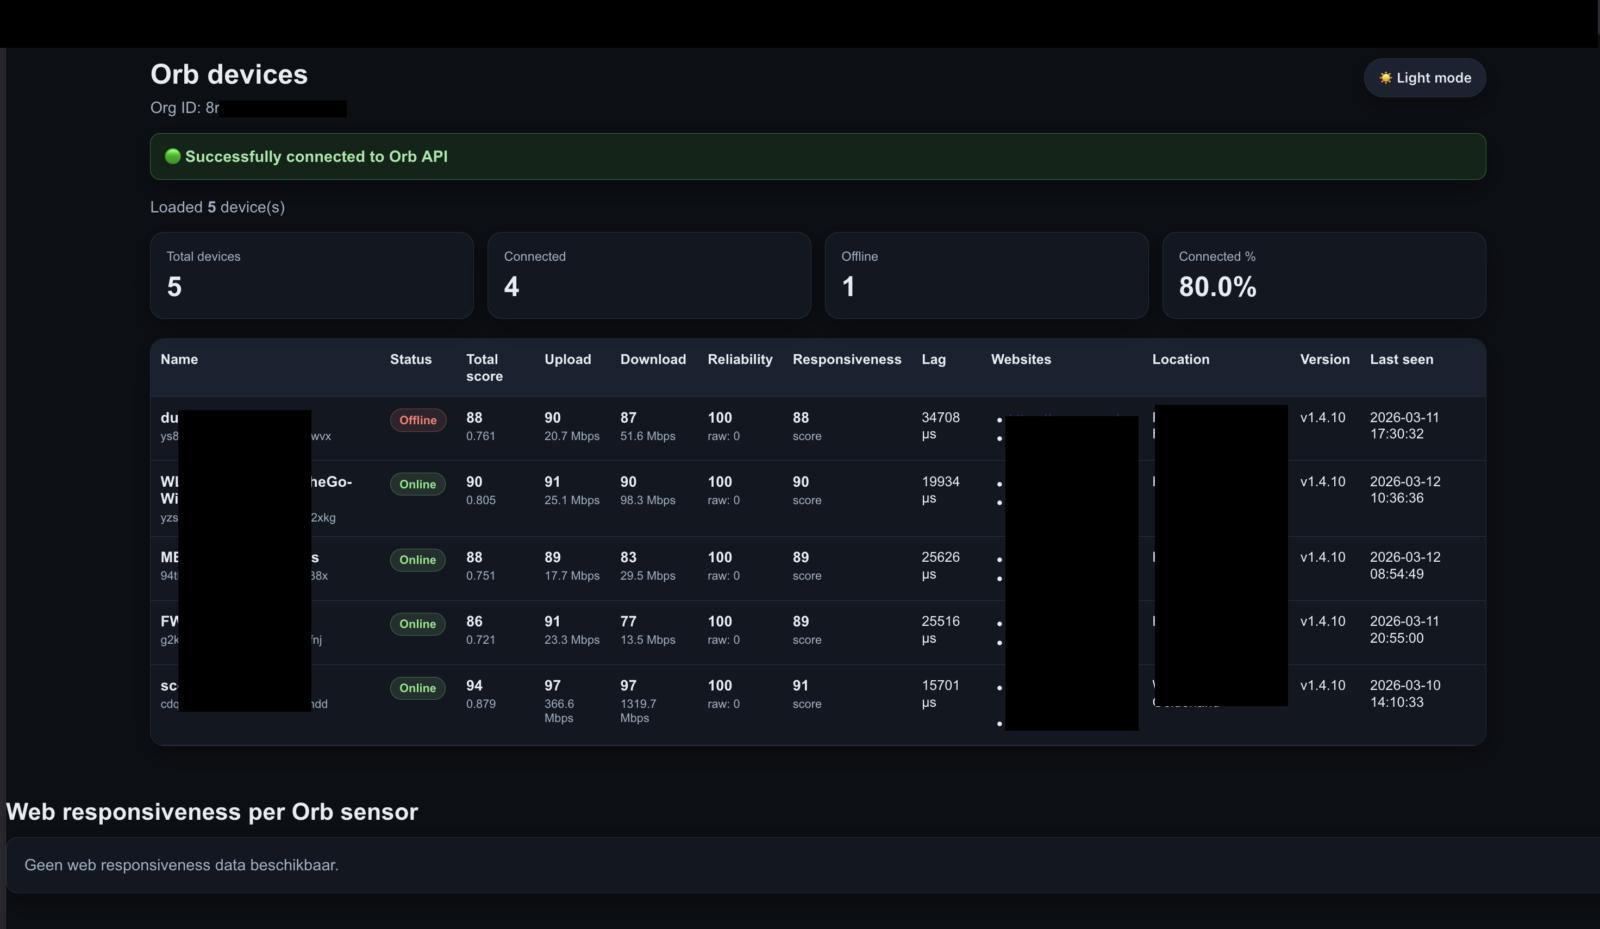
Or build your own

Andy Stevens, CWNE #486 en oprichter van MetaWiFi. Ontwerpt, meet en valideert Wi-Fi netwerken voor bedrijfskritische omgevingen en schrijft daarover op TalkAboutWiFi. Meer over MetaWiFi